Basic Quick3DCloset course where you will learn the basic notions to handle the program in just 20 minutes.
NOTE: The program is set to inches.
Video-Tutorial
Drawing the architecture
After starting the program, the following window will be displayed:
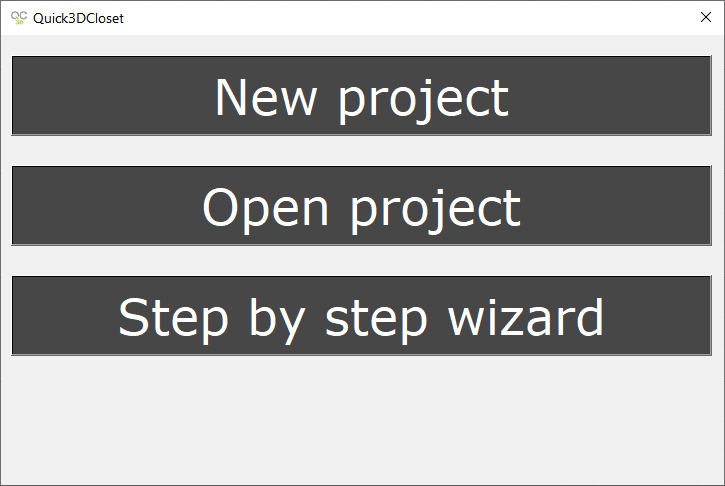
Select “New project” to start a new project, and the following window will be displayed:
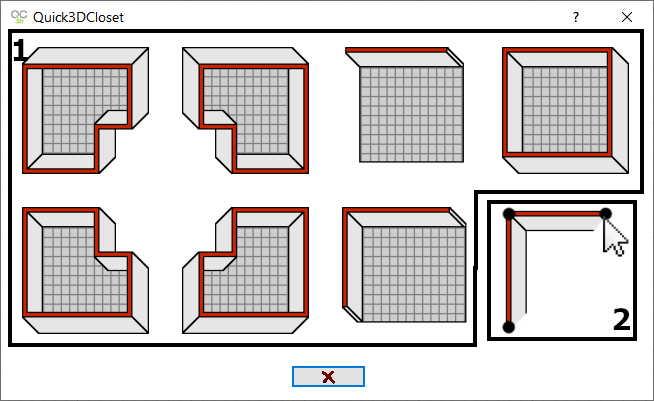
The available options are:
- Create “predefined” architecture: here you can find a selection of predefined architectures to quickly draw the architecture.
- Draw the architecture “manually”: This option allows you to draw the architecture manually for more precision and to create one with a different shape than the “automatic” ones.
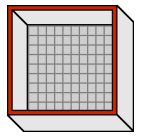
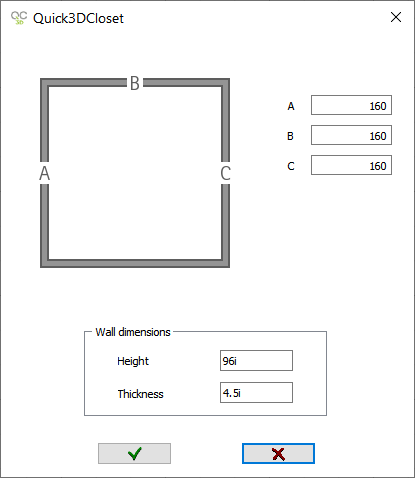
The following window is displayed, where you can select the measurement of each wall (A, B, C), as well as their height and thickness:
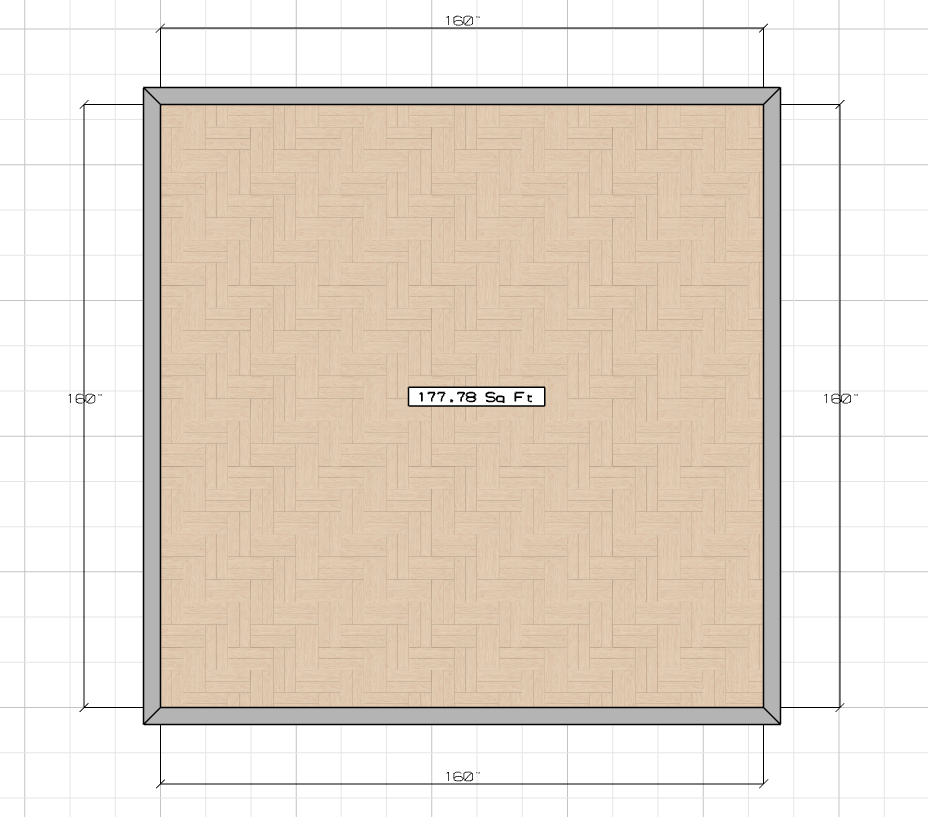
And now we have our predefined architecture created in our project.
Advanced options for drawing architecture in Quick3DCloset
You can watch a more advanced video on how to draw architecture in Quick3DPlan here:
NOTE: Video made with Quick3DPlan, but the tools are the same in Quick3DCloset.
Template manager
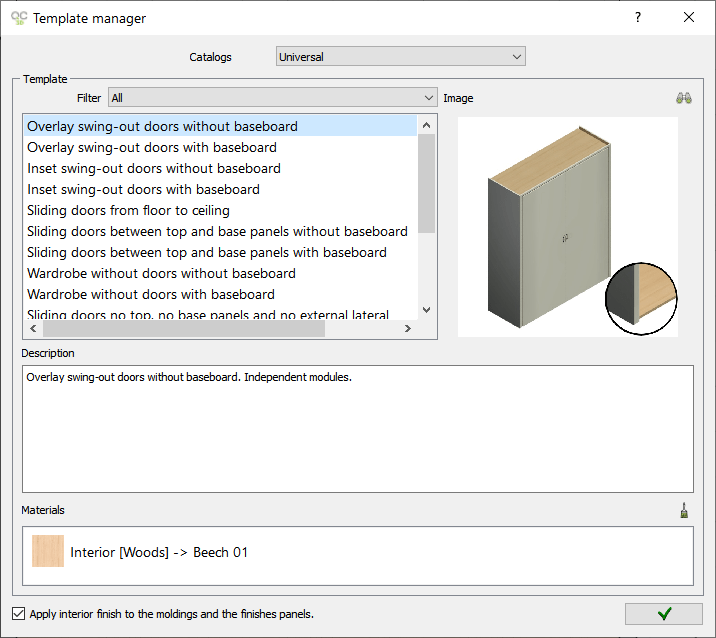
Next, the “Template Manager” window will be displayed, but we’ll cover this in the next lesson.
Click on the “Next” button to continue with the course.

