Video-Tutorial
Add crown and light rail
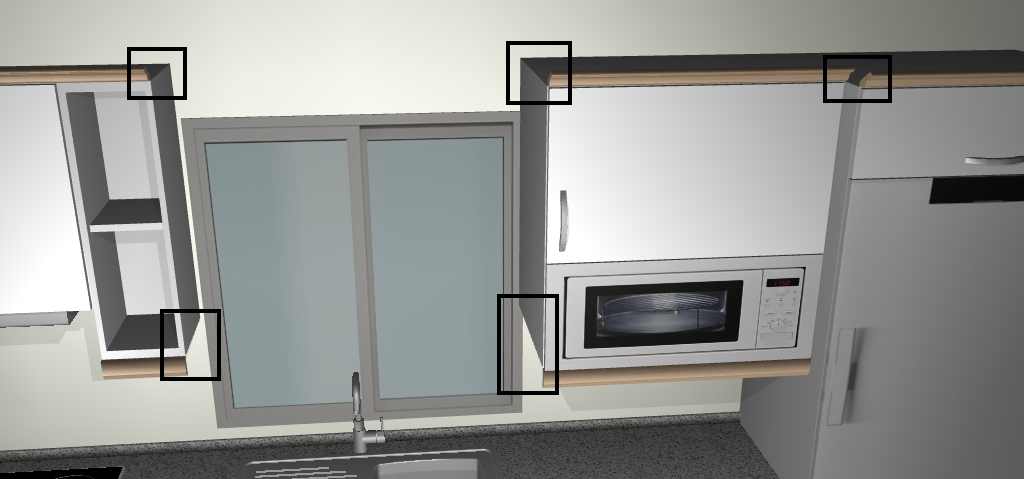
After furnishing the kitchen, you can see that some sections of crown and light rail are missing on the upper cabinets:
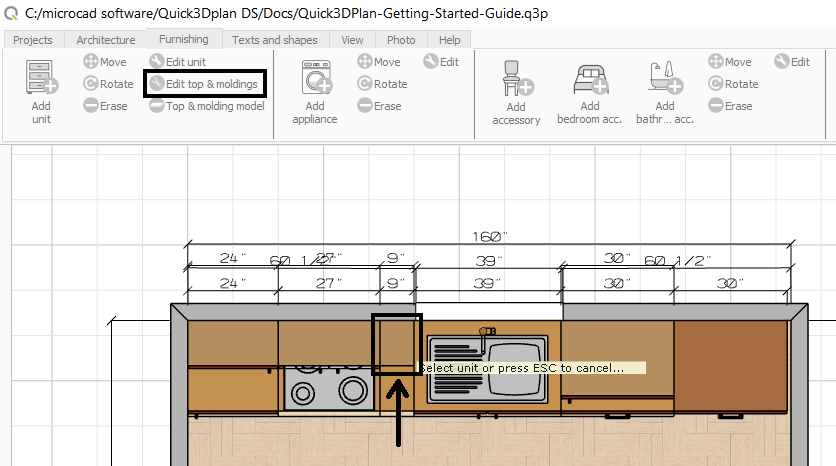
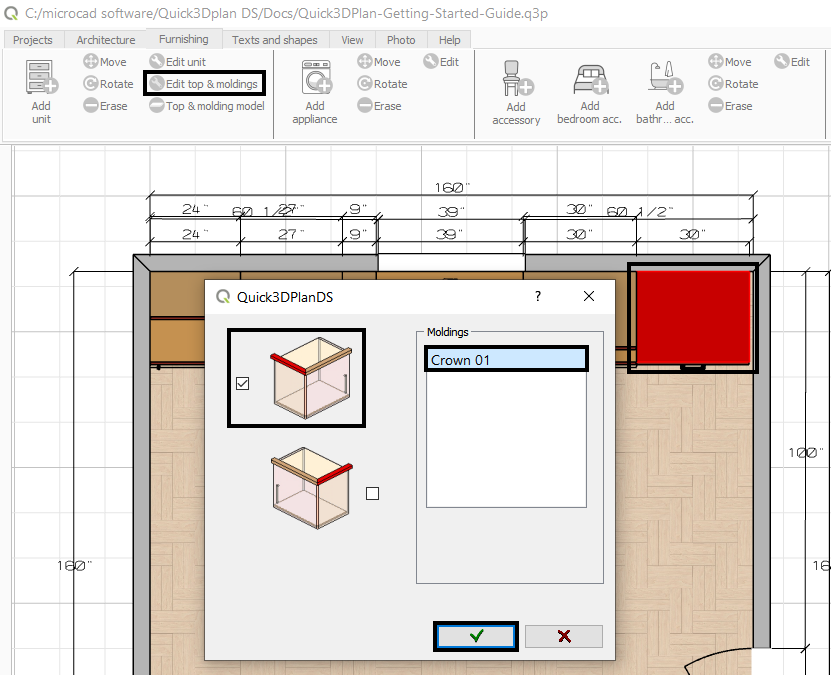
To add these sections of moldings, click on the “Edit top & moldings” option within the “Furnishing” tab, and then select the indicated cabinet in the image:
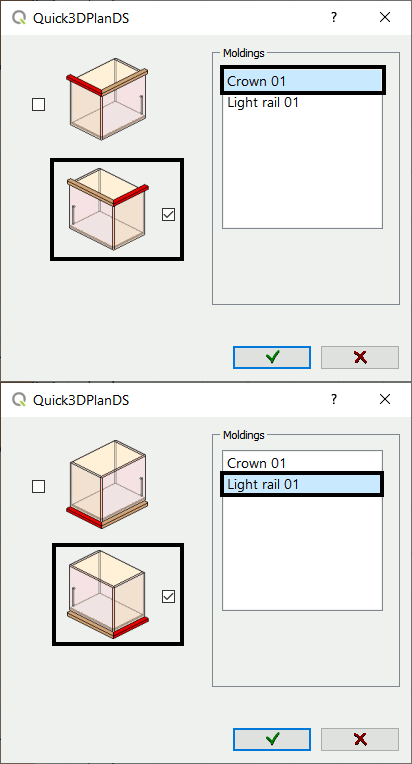
The following window is displayed, where you have to select the side where the crown and light rail segment will be added to the selected cabinet:
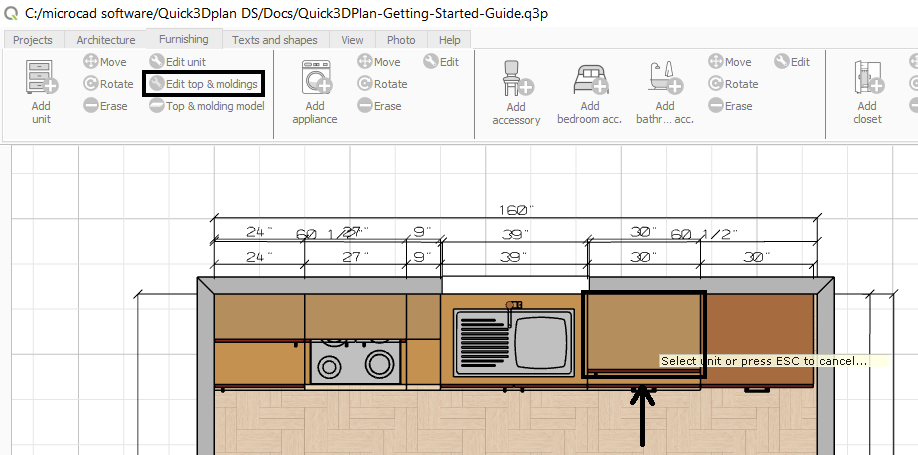
We repeat the process, this time with the cabinet to the right of the window:
In the window displayed for editing the moldings, now select these options:
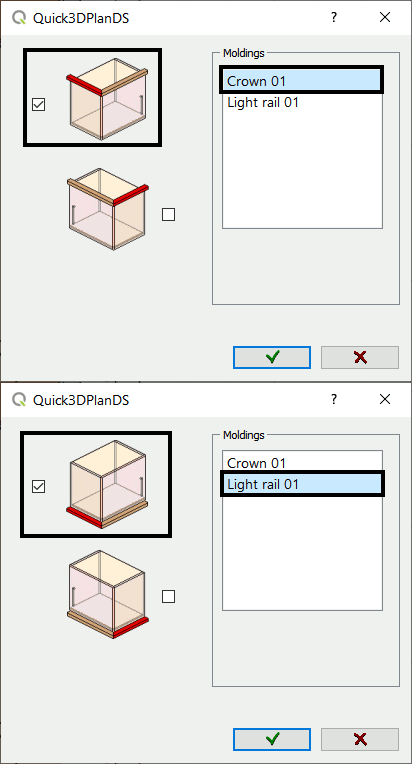
Finally, we will place the crown segment on the refrigerator column cabinet. We repeat the process, select the Fridge Pantry Built, and place the crown segment on the selected side.
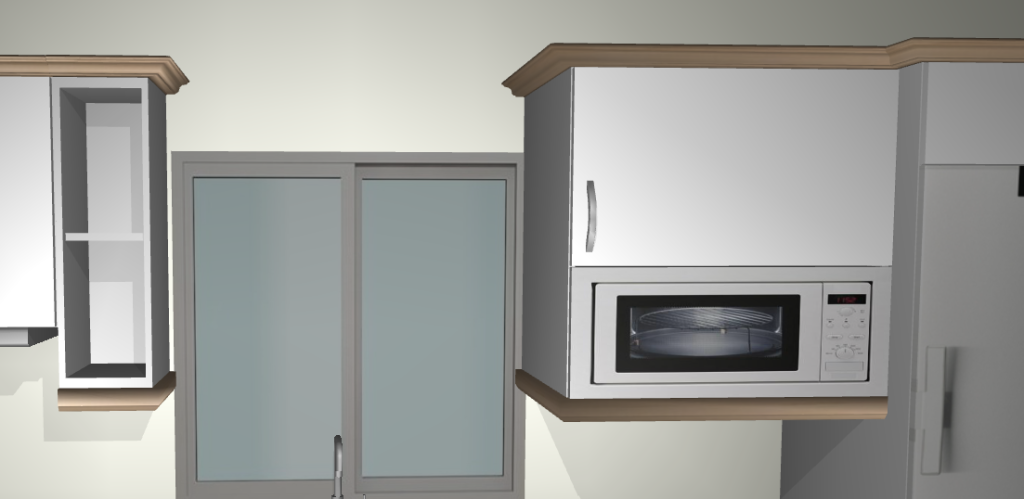
Here you can see how the moldings we just placed look:
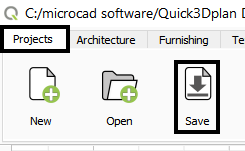
Save project
Now let’s see how to change the materials of the furniture, walls, and floor.
Click on the “Next” button to continue with the course.

